

You can create and manage forms without leaving the WEMASY Website Builder. The Forms list sits in the same bar as your pages, so you can build a contact or signup form and put it on a page in one go.
Open the Forms list
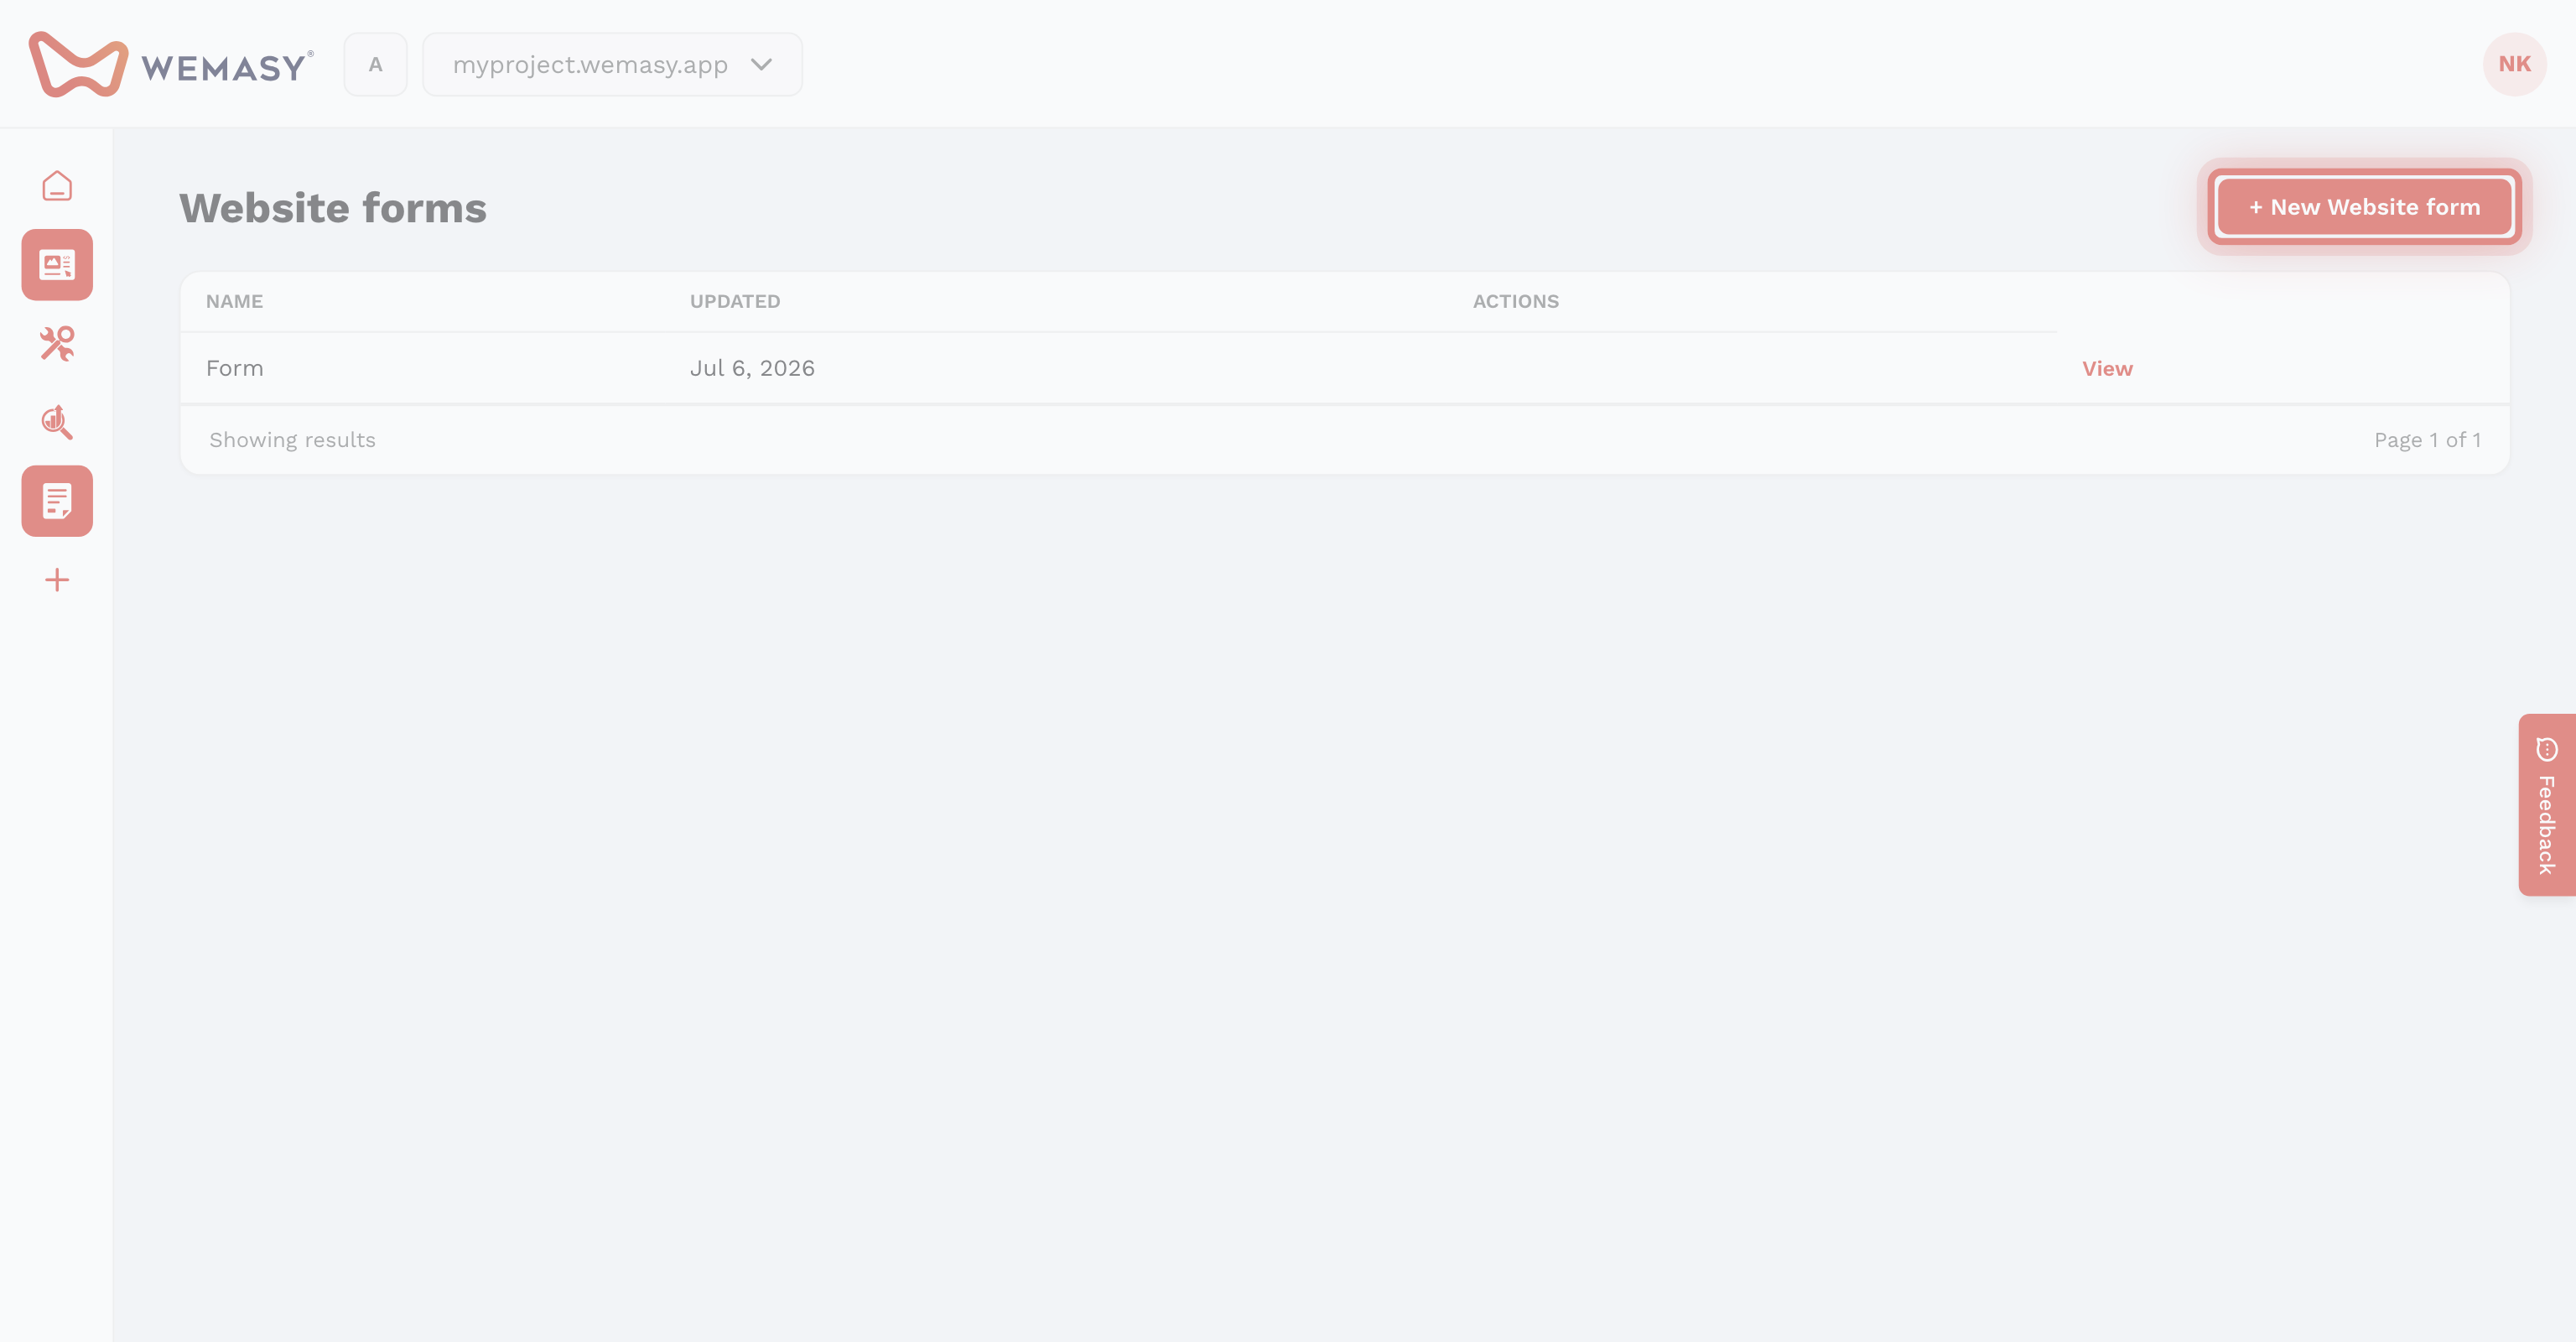
- Open Website Builder.
- In the bar above the canvas, click the three-dots menu next to Pages.
- Click Forms.
The panel now lists every form in your project. It works like the Pages panel: you can search, switch between card and list view, and use the three-dots menu on a form to Edit or Delete it.
Create a new form
- In the Forms panel, click New Form.
- Give the form a title and fill in the general settings, such as the Submit title and Redirect after submit.
- Save the form.
- Open the Form builder and drag fields from Form Fields onto the form.
- Drag the submit button onto the form so visitors can send it.
The full form options, such as validation, spam protection, notifications and newsletter lists, are explained in Creating a form and Form builder and fields.
Put the form on a page
- Open the page on the canvas.
- Click Elements in the left sidebar.
- Drag the Forms element into a section.
- Select the form you created in the element settings.
See Forms element. For a quick form with only name, email and message, the Contact form element needs no form setup at all.
Edit or delete a form later
- Open the Forms panel and click the form to open it.
- Use the three-dots menu and Delete to remove a form you no longer use. Remove the Forms element from your pages first, so no page points to a missing form.
Tip: submissions are stored in the Forms tool. Open Forms from the product switcher to read them and set up email notifications.