

The Site Identity section in project settings holds your logo and favicon, plus the switch for the cookie consent banner. Set them early so your website, your browser tab, and your emails look like your brand from the start.
Where to find site identity
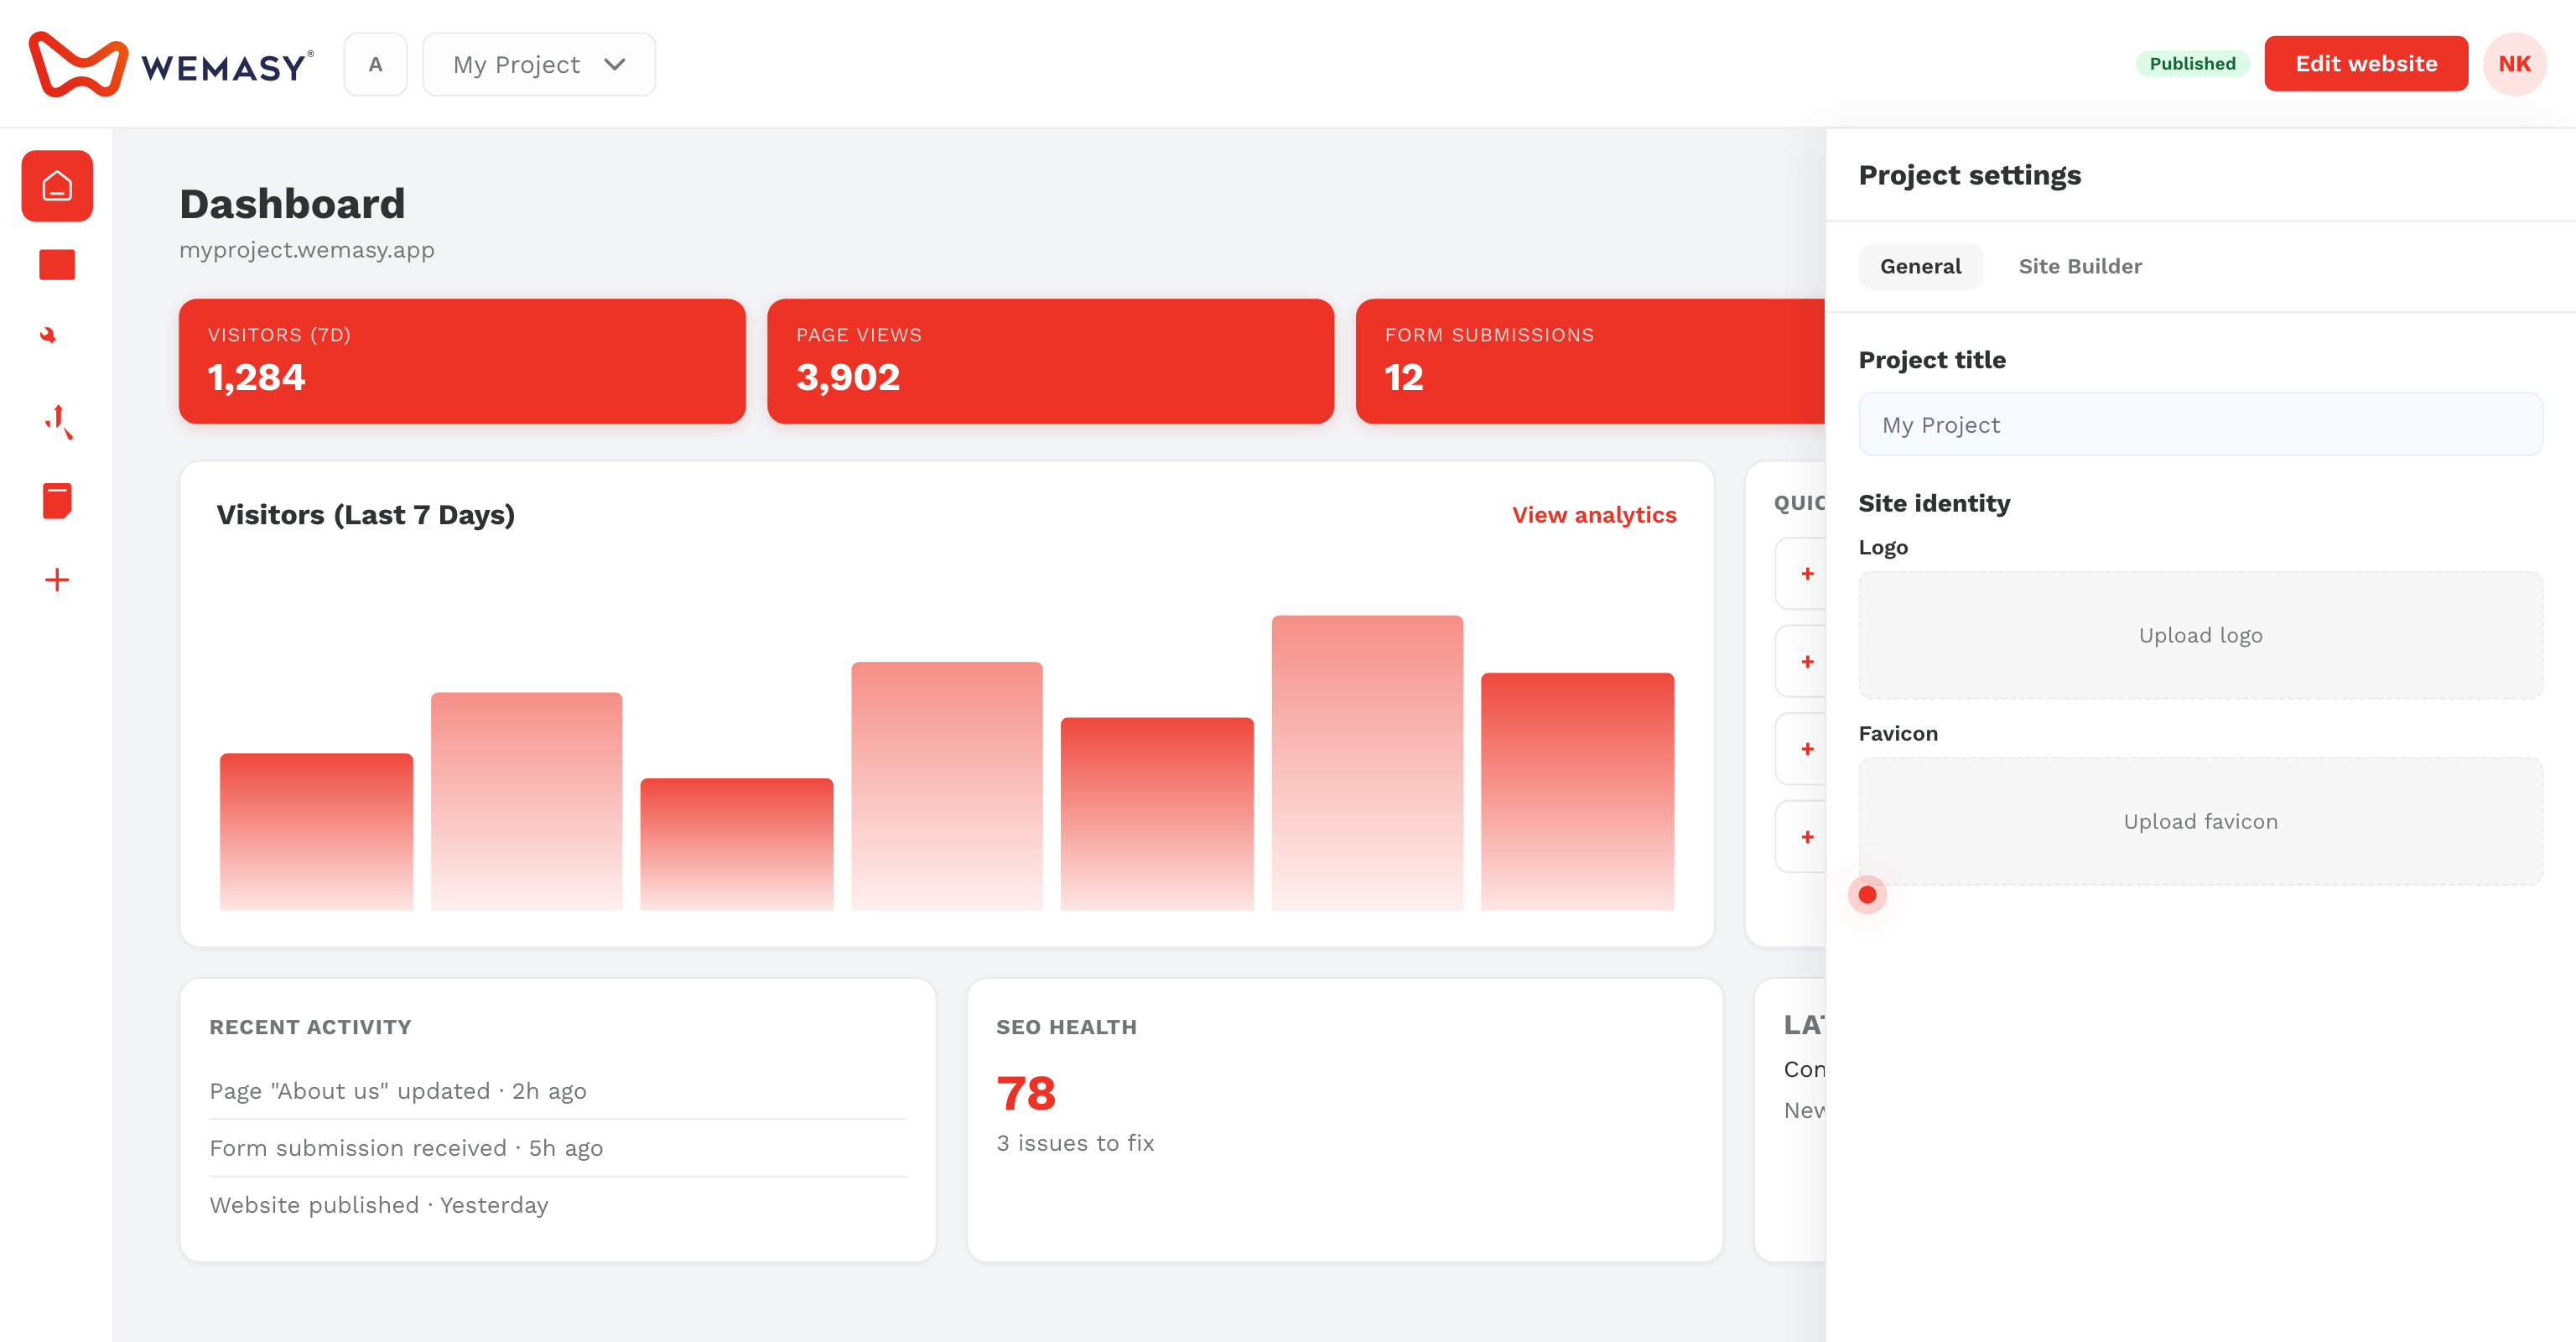
- Click the gear icon next to the project switcher in the top bar.
- Open the General tab.
- Scroll to Site Identity.
Upload your logo
- Under Logo, click the upload area.
- Choose your logo file.
- Click Save at the bottom of the form.
Use a sharp image, ideally with a transparent background. Large images are scaled down to at most 1400 pixels wide or high. Other places can reuse this logo: the Email style and Business profile tabs both have a Use my site's logo button.
Set your favicon
The favicon is the small icon in the browser tab and in bookmarks.
- Under Favicon, click the upload area.
- Choose a square image.
- Click Save.
A simple square icon reads best at small sizes. Your published website shows the new favicon after you publish again.
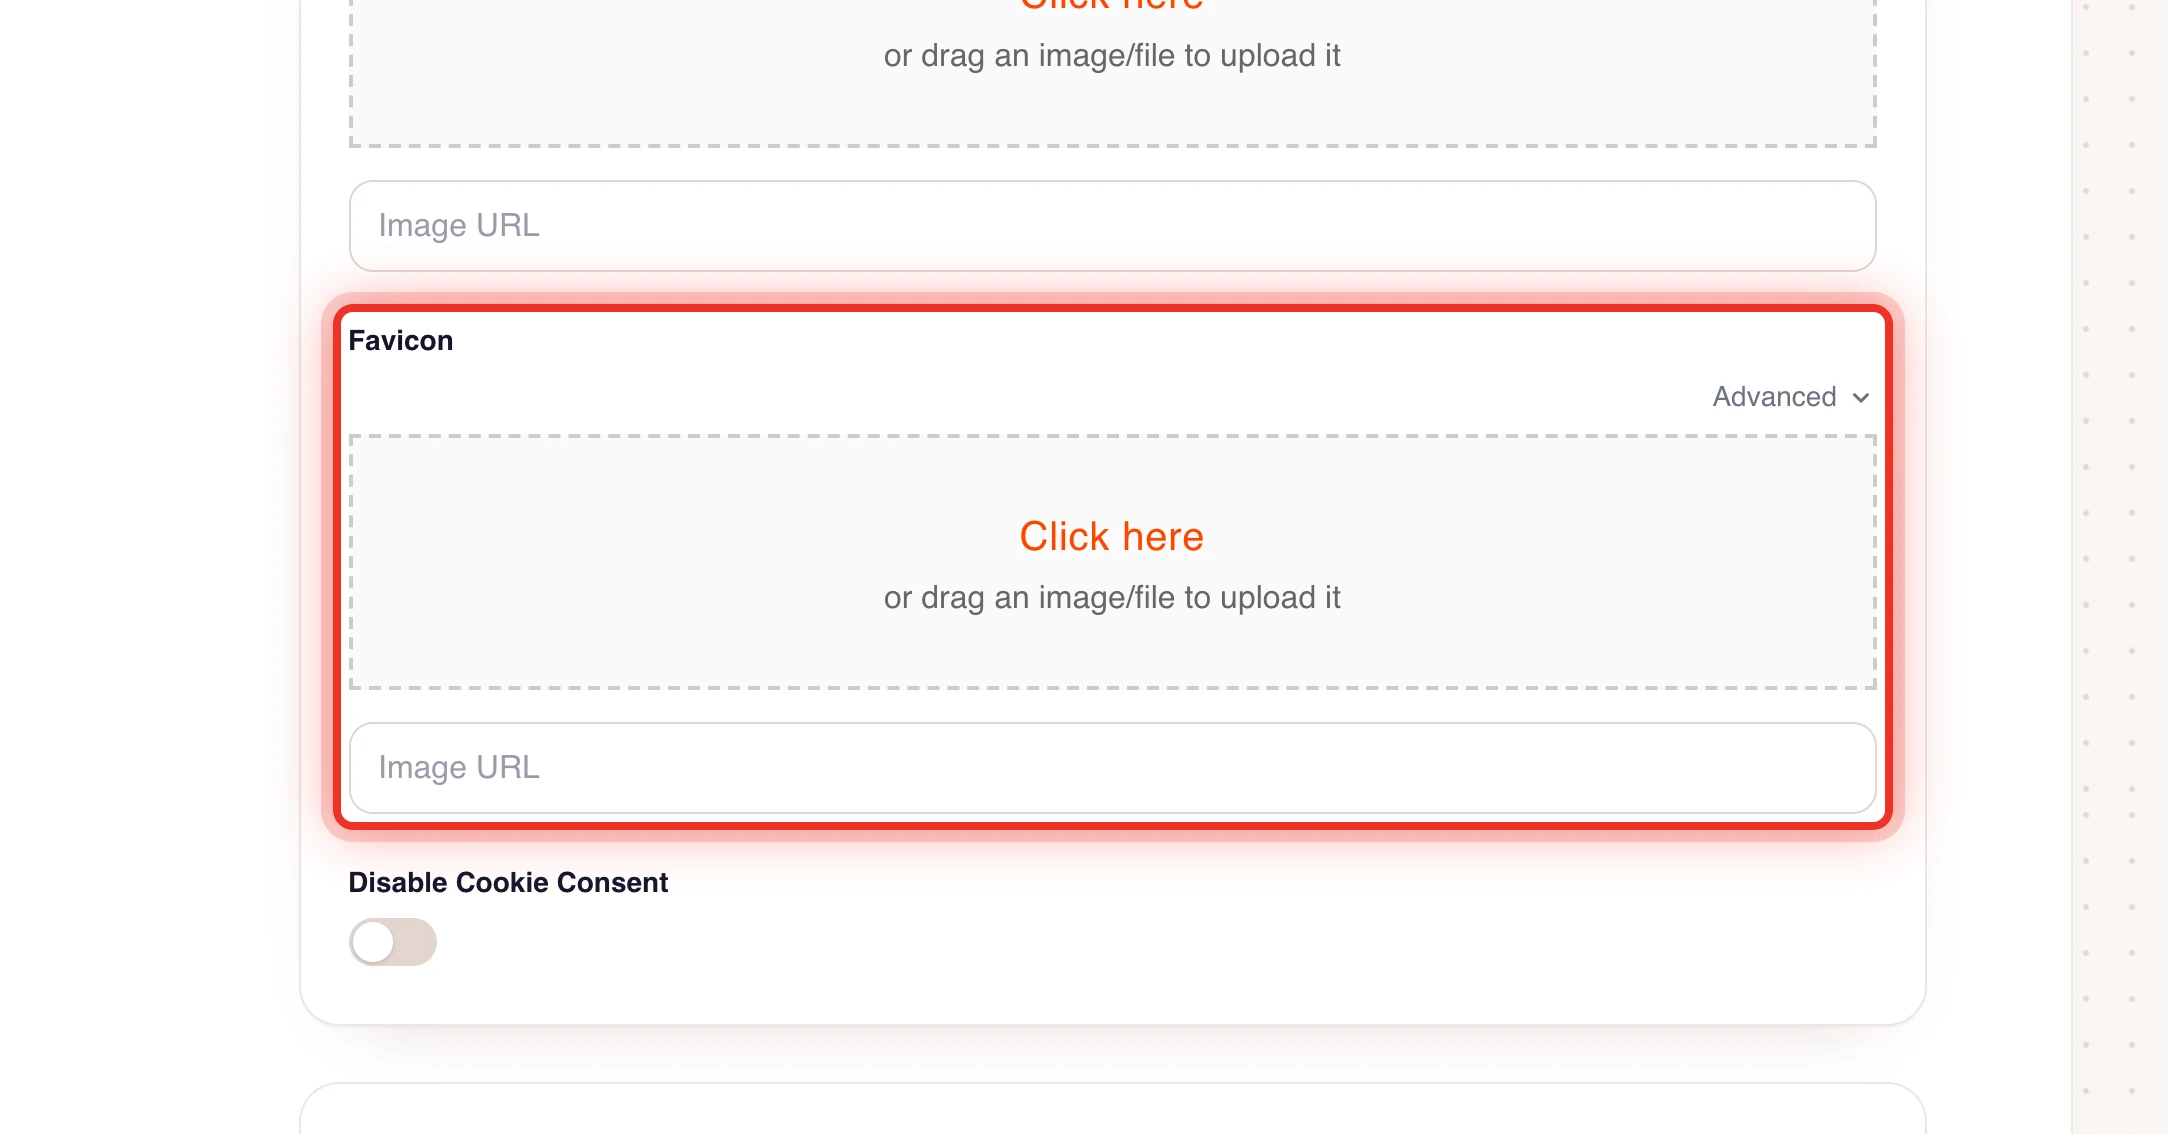
Cookie consent banner
By default your website shows a cookie consent banner to visitors. To hide it, switch on Disable Cookie Consent and click Save. Only do this when your website sets no cookies that need consent, or when you use your own consent solution. Read more in Cookie consent bar.
Who can change site identity
The owner and collaborators with full rights can change everything in this section. A collaborator with the Website right can change the logo and favicon, but not the cookie banner.
Tip: After you change the logo or favicon, publish your website again so visitors see the new version. See Publishing your website.
Frequently asked questions
Which file types can I use for the logo and favicon?
Use a common image file such as PNG or JPG. A logo with a transparent background, saved as PNG, looks best on colored headers.