

Create a workspace to group projects that belong together, such as all websites of one client. You make and manage workspaces on the Workspaces page, which you open from the workspace switcher in the top bar.
How to create a workspace
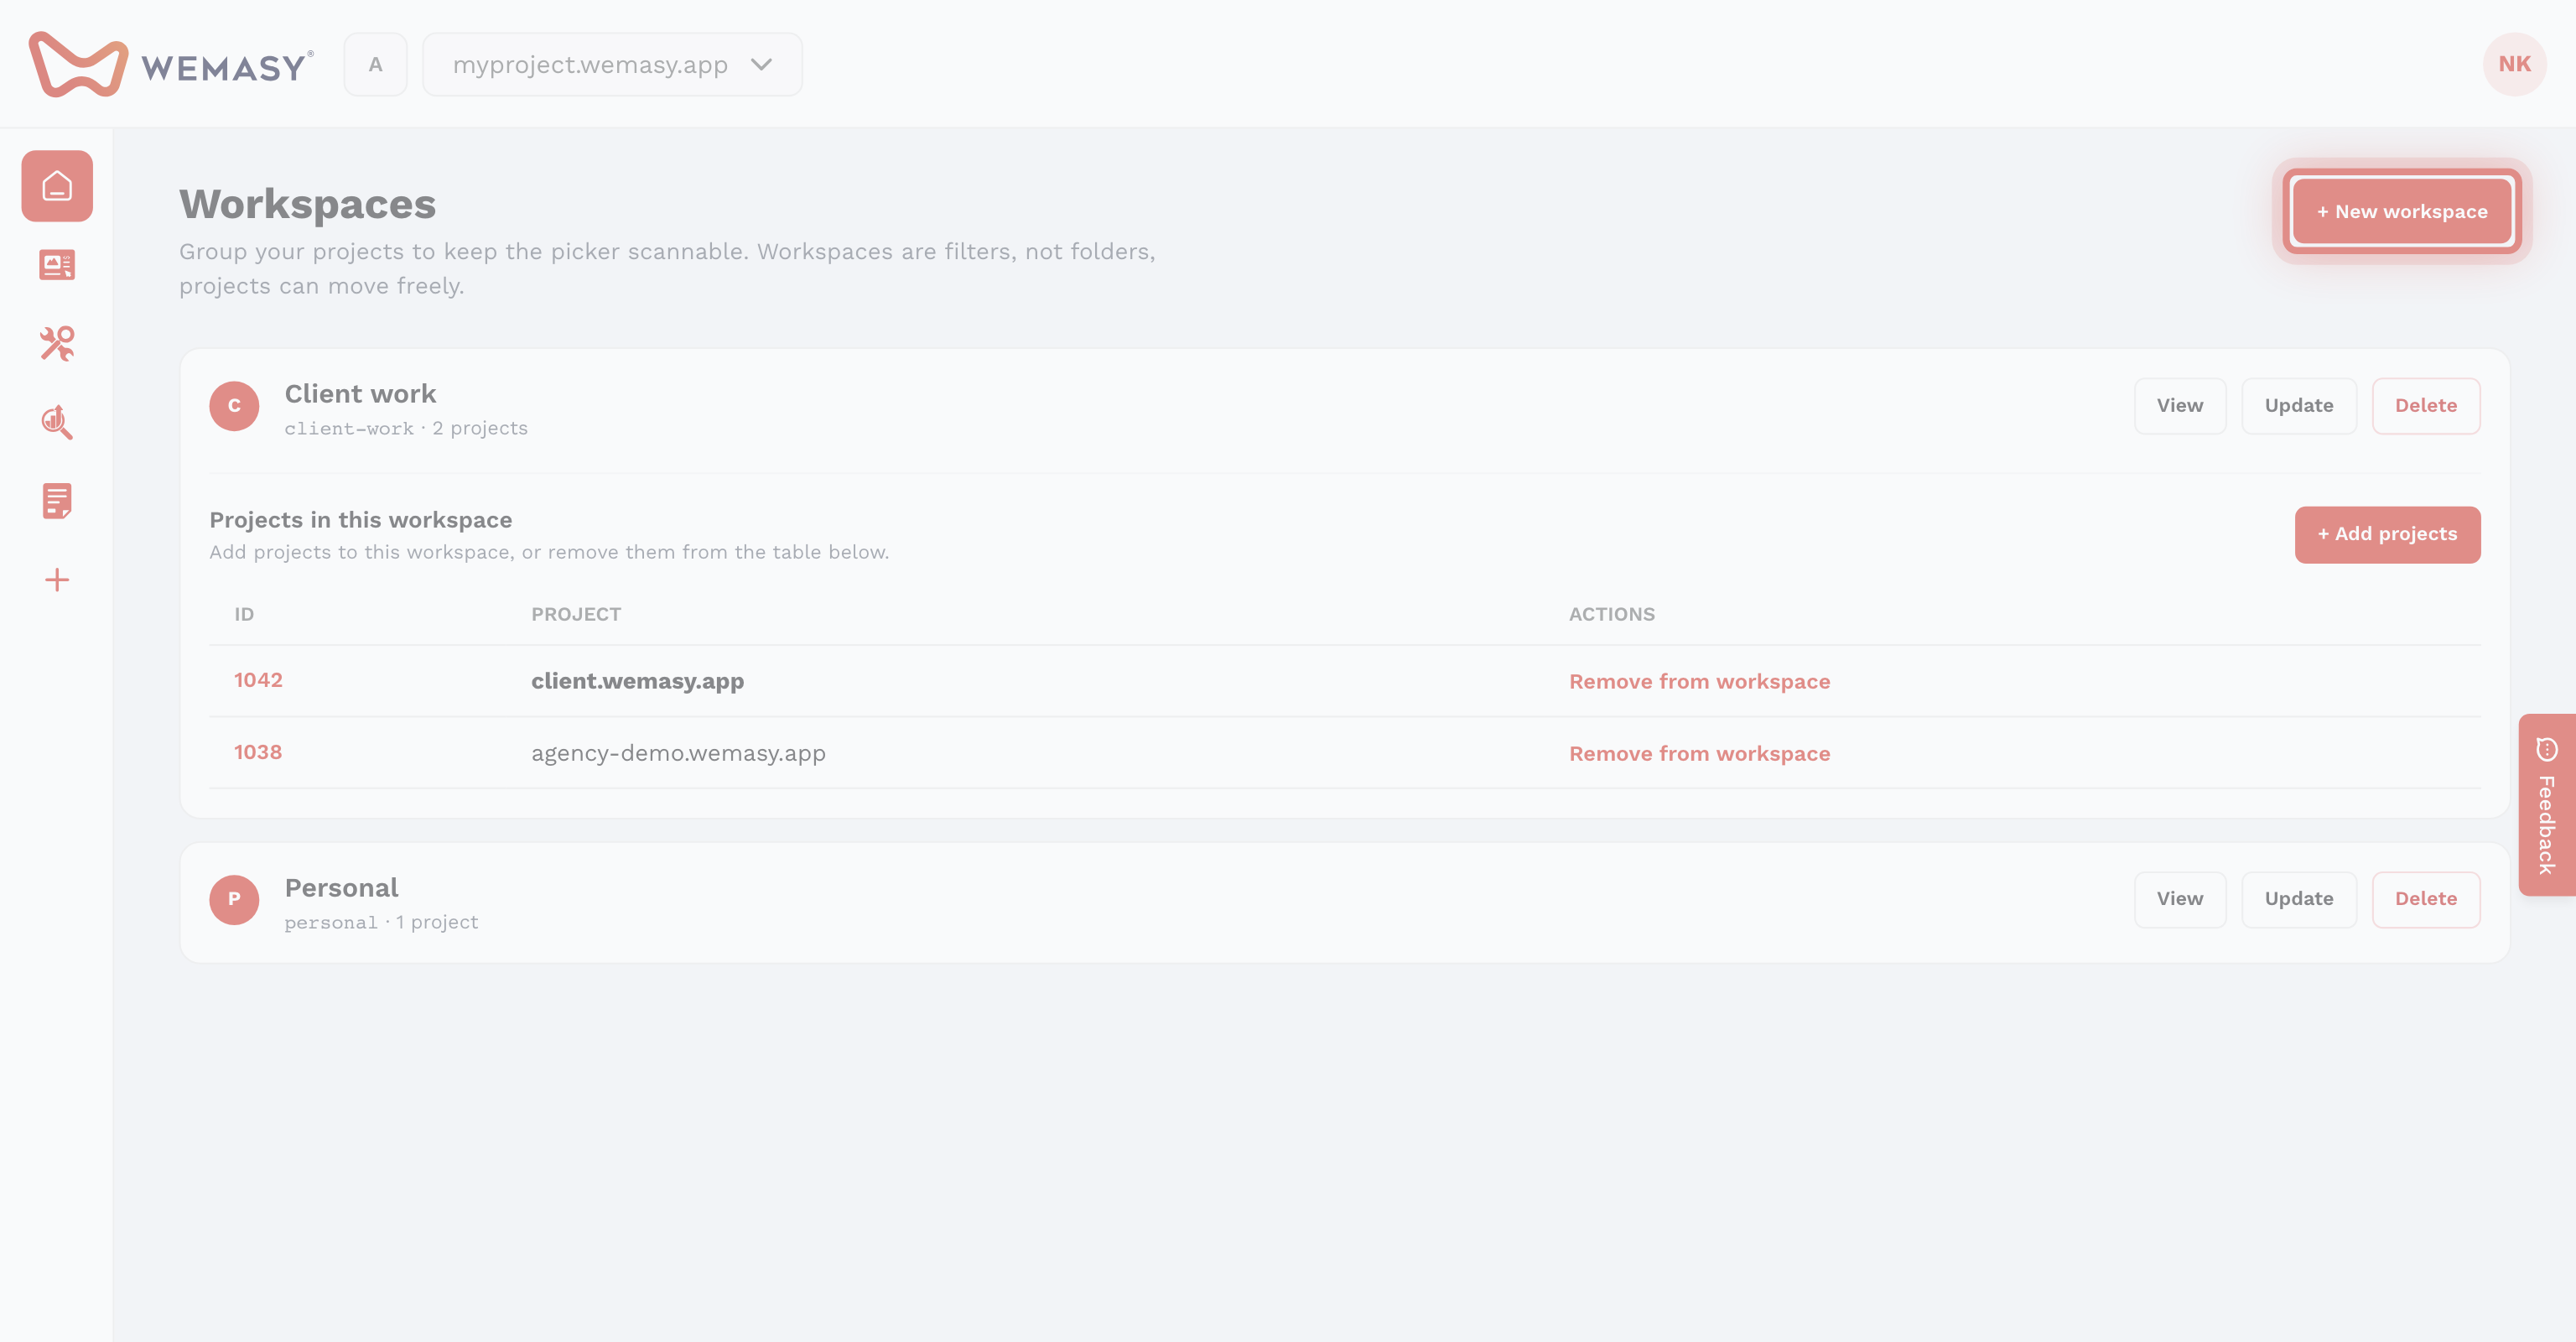
- Click the workspace switcher, the square button with a letter left of the project switcher.
- Click Manage workspaces at the bottom of the menu.
- Click New workspace.
- Enter a name in Workspace name.
- Click Create.
The new workspace appears in the list with 0 projects. Next, add projects to it. See Connecting projects to a workspace.
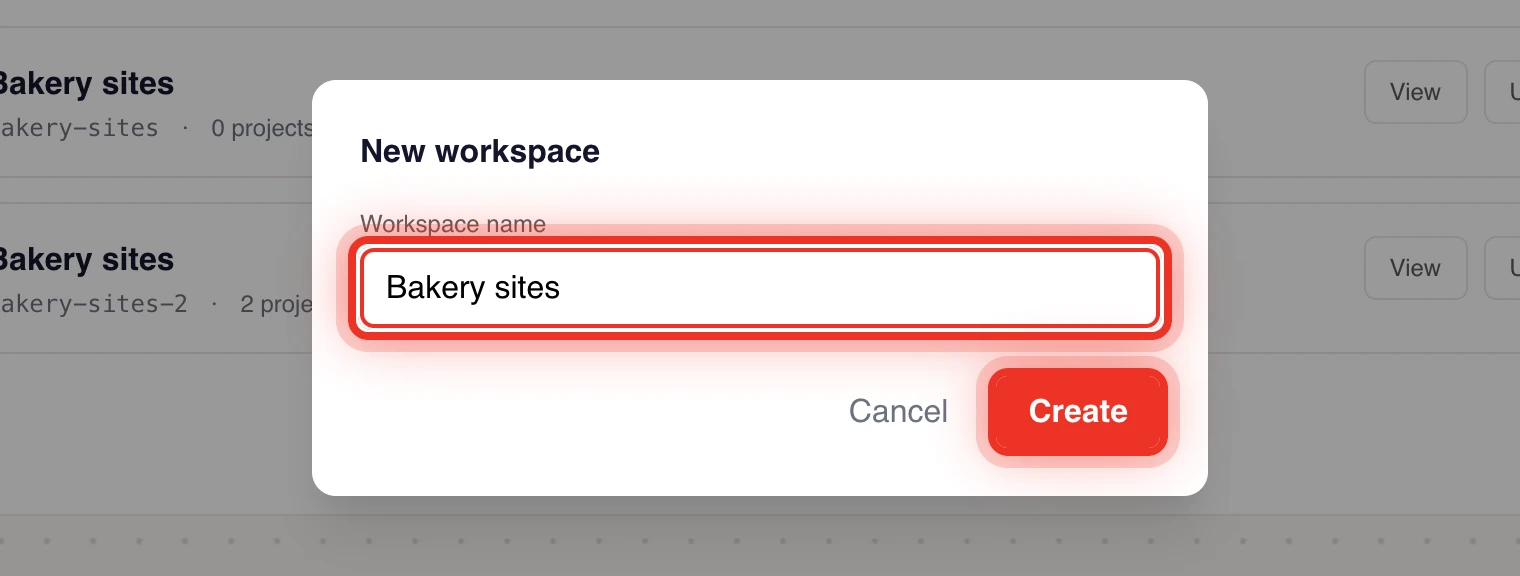
Choosing a name
Pick a name you recognize at a glance, such as the client or brand name. The first letter of the name shows on the workspace switcher button, so names that start with different letters are easier to tell apart.
Rename a workspace
- Open the Workspaces page.
- Click Update next to the workspace.
- Change the name.
- Click Save.
Delete a workspace
- Open the Workspaces page.
- Click Delete next to the workspace.
- Confirm.
The projects in the workspace become unassigned. Projects are never deleted with a workspace.
Good to know
- You can make as many workspaces as you need.
- Workspaces are personal. Your collaborators do not see them.
- You can only add projects that you own to your workspaces.
Tip: Read What is a workspace? for how the workspace switcher filters your project list.
Frequently asked questions
Why is the Workspaces page not in the account menu?
You open it from the workspace switcher, the square button with a letter left of the project switcher. Click Manage workspaces at the bottom of its menu.